


There are thousands of benefits to using a VPN, from being able to mask your home IP address to being able to avoid regional restrictions for sites like Netflix and Hulu to simply wanting a sense of privacy when you browse the web. Public VPNs cannot always be trusted, and running your own VPN server is the only way to know for a fact that you are secure. The good news is it is easy to set up a VPN server fast, easy, and can be done in a few simple steps.
Feel free to watch the video and follow the steps below:
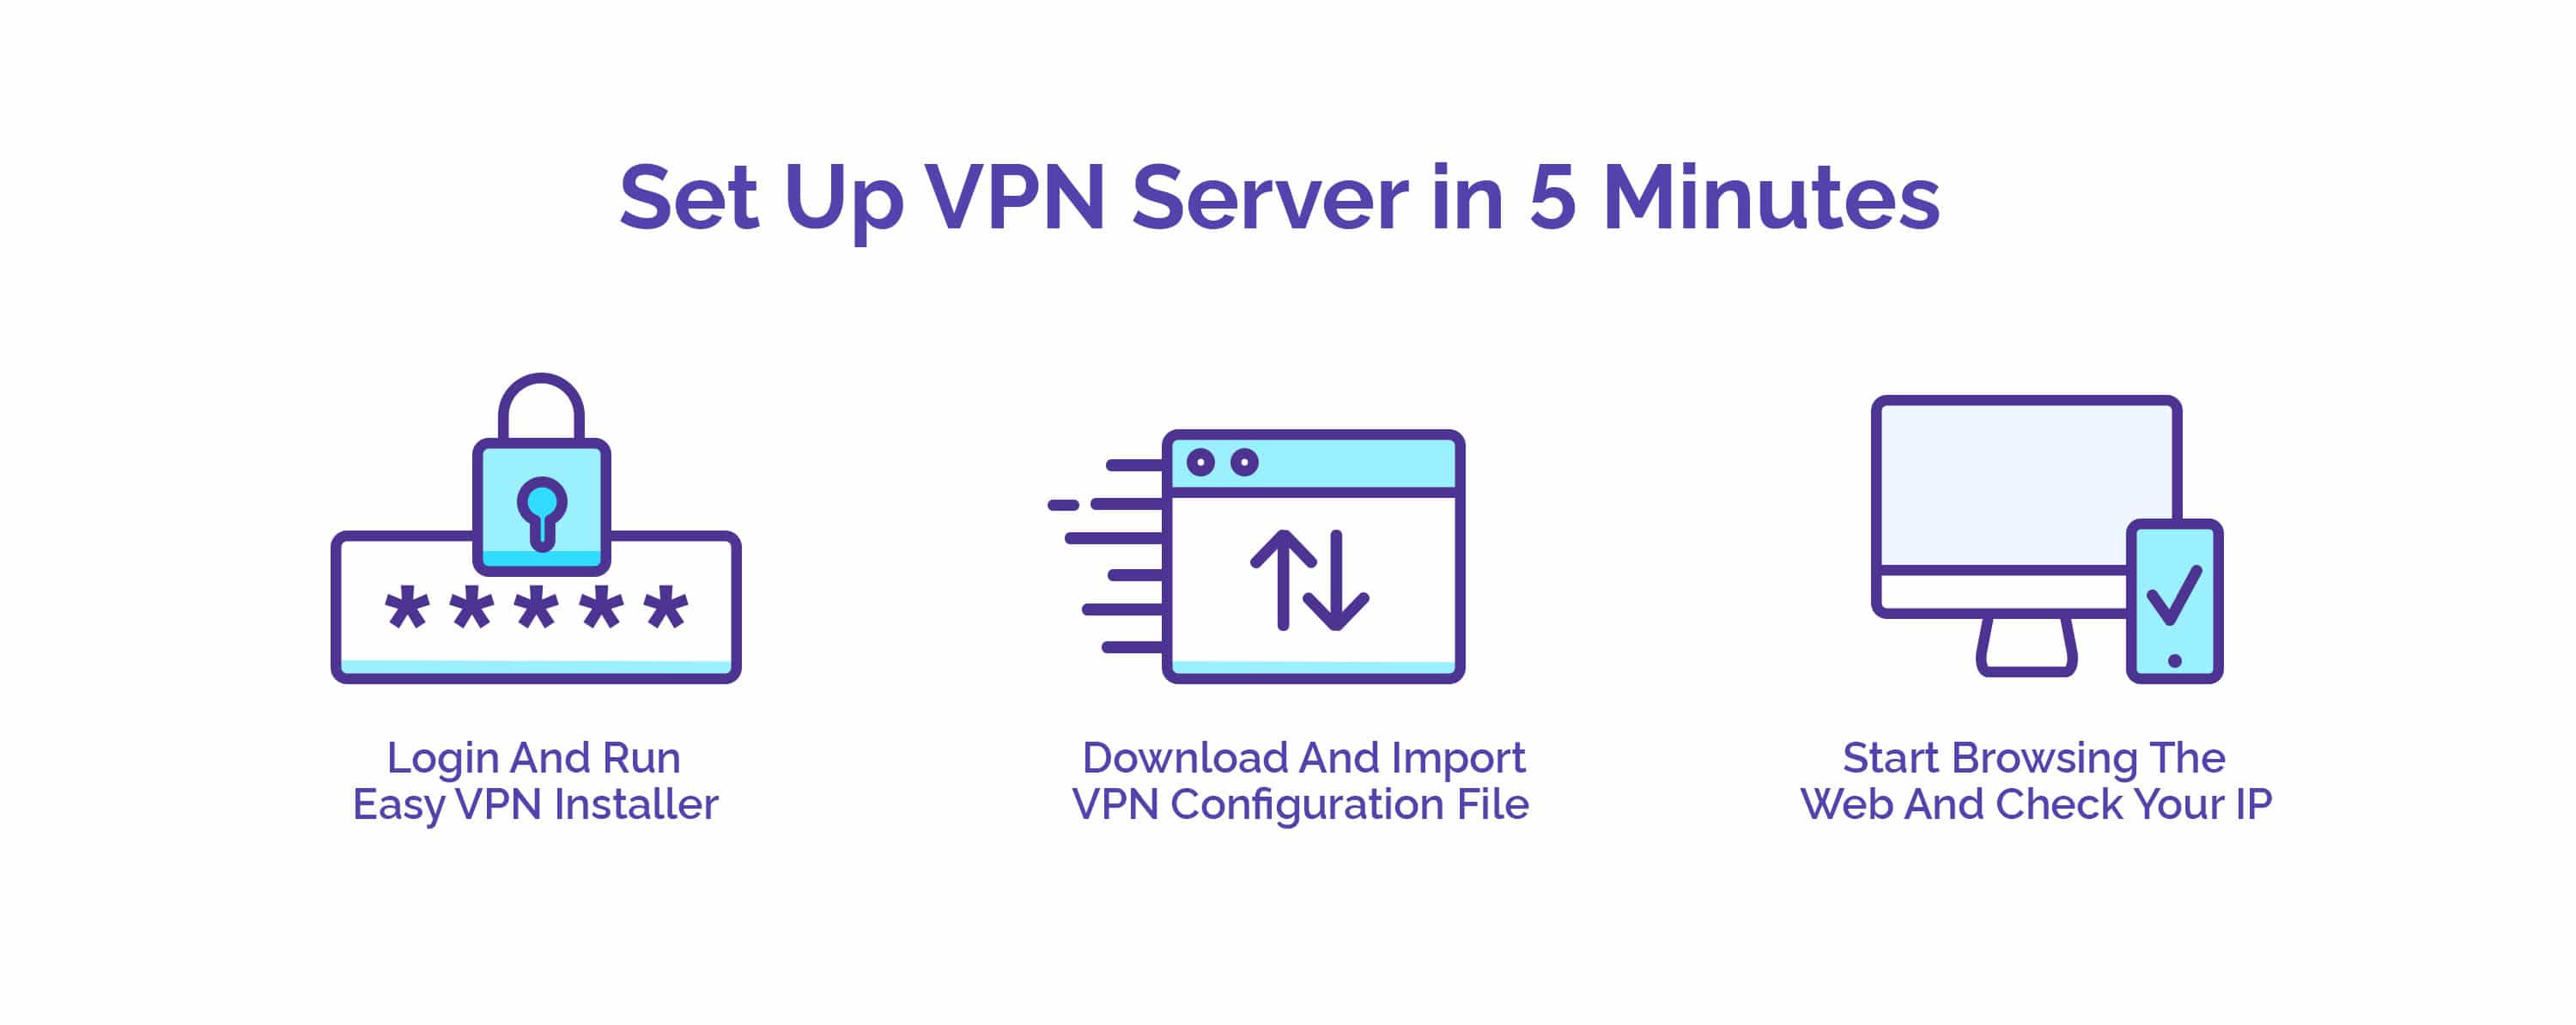
Step 1: Log into Your Server & Run the Easy VPN Installer
Once you order your VPS, you’ll need to log into it via SSH and then run a few quick commands.
If you don’t know how to log into your server, here is a tutorial for Windows (How to Use PuTTY) or Mac (How to Use Terminal for SSH). For this tutorial, we’ll use Terminal on Mac, but once you are logged in, the process is the same for Windows.
Run the following command: wget https://git.io/vpn -O openvpn-install.sh && bash openvpn-install.sh
You will be presented with the following screen:
Welcome to this quick OpenVPN "road warrior" installer

I need to ask you a few questions before starting the setup

You can leave the default options and just press enter if you are ok with them
First I need to know the IPv4 address of the network interface you want OpenVPN

listening to.

IP address: ***.**.***.***
The installer should automatically put in your server’s IP address. Just press “enter”
Which protocol do you want for OpenVPN connections?

1) UDP (recommended)

2) TCP

Protocol [1-2]: 1
Enter “1” (if it is not already entered) and press “enter” again.
What port do you want OpenVPN listening to?

Port: 1194
Here you can enter “1194” (if it is not already entered) and press “enter” again.
Which DNS do you want to use with the VPN?

1) Current system resolvers

2) Google

3) OpenDNS

4) NTT

5) Hurricane Electric

6) Verisign
Next, Choose “1” and press “enter”.
Finally, tell me your name for the client certificate

Please, use one word only, no special characters

Client name: client
Choose any name you wish. We can go with “tutorial” here.
The process might take a moment to install, and then from there your VPN server will be configured.
Your client configuration is available at /root/tutorial.ovpn.
Now it’s as simple as downloading the file and importing it into your VPN client.
Step 2: Download the VPN Configuration File & Import It
By way of an SFTP application (make sure you use SFTP and not FTP or FTPS) like Cyberduck, you can use the same SSH credentials to log in and download your VPN configuration File.

After downloading the configuration file, it is as simple as importing it into your VPN application. We use, and highly recommend, Viscosity, which is available for just $9. To import the VPN configuration into Viscosity, it is as simple as opening the preferences, and dragging and dropping the VPN file into the list area under “Connections”.
Step 3: Start Browsing the Web & Check Your IP
Now you can check your IP address to ensure that the VPN is working properly. You can check your IP address here.
If your IP is displayed as your normal home IP, it is possible that the VPN client is not set to send the traffic over the VPN. You can fix this by opening up Viscosity, selecting the VPN, clicking “Edit”, and then going to the “Networking” tab. From there, choose “Send all IPv4 traffic over VPN connection”.
You can refer to this blog if you wants to Install WireGuard Road Warrior VPN on VPS
Hopefully it was an easy process to set up the VPN server.
If you ever run into any issues with your Cheap KVM VPS or OpenVZ VPS, feel free to reach out to us and we will be more than happy to fix the problem for you. It’s an included service in our 24/7 technical support and VPS management.
Posted on April 14, 2018
Really helpful article Justin, thanks for sharing your knowledge. I purchased a small 512 MB VPS and installed VPN from Florida location and it’s works superb.